Tuesday, January 28, 2014

ACW Battle - 6mm Adlers using Hidden Movement

Ok, this battle was done over 10 years ago, using my old 6mm Adler ACW collection which I have long since sold. We used Piquet's Hallowed Ground supplement and I designed it for hidden movement, which made for excellent fog of war.

The Union ended up winning the battle, but it was nip and tuck most of the way.

I used my custom terrain boards I made from scratch with the assistance of Jim Brokaw in the mid-90s. Most of the table was covered with forest (didn't have enough trees to my liking, but hey, what are you going to do) with several clearings and crossroads critical to victory.

Union regiments were blue painted balsa wood until put on the table.  The smaller blocks were artillery.


Spliced together photo showing Union brigade moving towards an Confederate speed-bump.


Rebs taking up a central position. Each side moved in secret, as the other side went out of the room. I was the umpire so I put things on the board when they became close enough.


Union cavalry charges Rebs behind a fence line, the proceed to pull a Heroic Melee Resolution! Awesome!


With the Reb regiment scattered the Rebel guns open up on the cavalry.


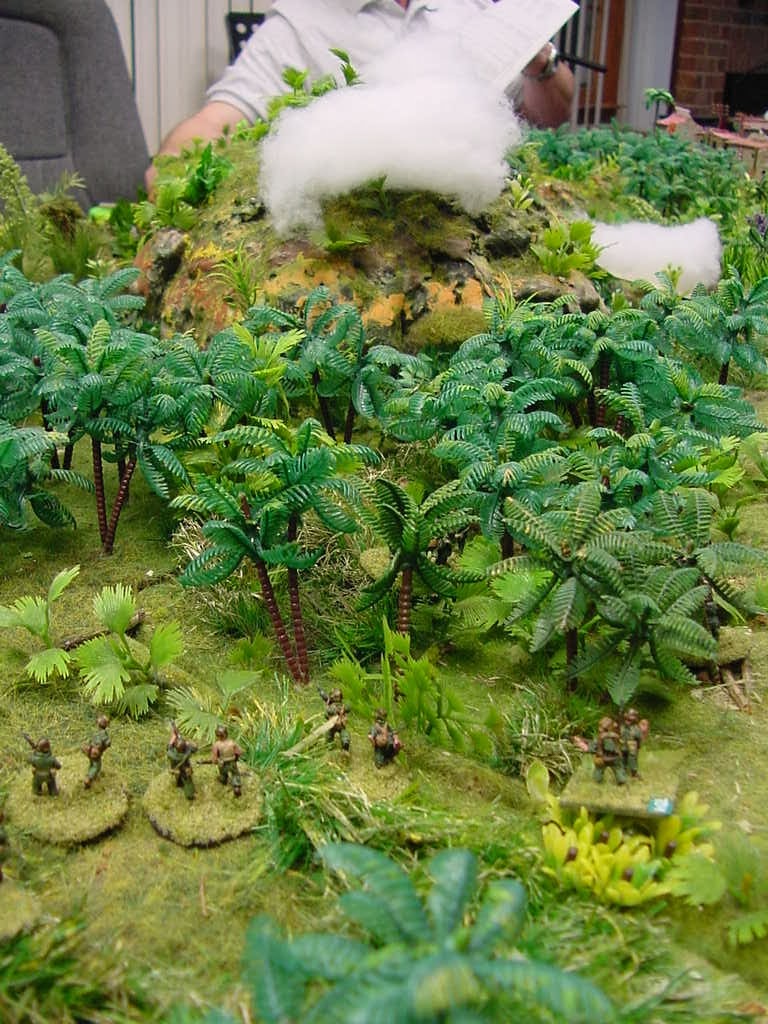
Nice view of the rebel side of the table.


Notice when the Yankees are moving they can't see the Rebels, because I removed the balsa wood markers in between each side's movement. This led to tons of tension, just as it should be!


Yankees: When are we going to find those blasted Rebels?!!


Confederate cavalry charging in skirmish formation against a Yankee regiment.


Finally each side starts to see the other


Since we were using 6mm figures, I was using reduced size rulers. I think I just cut the ranges and movement in half, but since I just used reduced size rulers (photo copied to the correct length) the charts didn't need to be changed. No advanced math skills needed here.


Players needed to designate what formation they were in while moving through the woods, which lead to some unfair situations. :-)


Massive flank attack as Union troops stream out of the woods and into the rebel lines!


Rebels routed unralliable (double reds)


Nice photo of a charge by the Yanks against a rebel regiment.


Things got thick in the woods as unit after unit was engaged in very close combat.


Yankee guns and rifles shatter a Rebel regiment.


Yellow markers mean "out of command", which causes all sorts of command and control problems.


Here you can see some rebel units are still hidden and moving through the woods to the sound of the guns.


Wish I could have remembered more about this battle, but it certainly was a ton of fun!

Eric

Monday, January 20, 2014

WW2 Pacific - Operation Tsunami

Hi folks,

Played this game five or so years ago, but never got around to posting the photos for this game.

Once again the terrain is made by Mal Wright, and looks absolutely amazing!

Rules: Piquet Bitzkrieg
15mm Figures from my collection

Enjoy the photos. I will make some comments on some of the pictures as I remember what happened. Heck, not sure who even won this one!

Americans landed unopposed, but that made the tension even more palatable.


Japanese forces were all put on the board at the start of the game. There are no "hidden" markers put on the boards. What you see is what you see.


US Marine Bravo Company HQ on the beach along with the field hospital and fire support mortars


The hill is plastered with off-shore naval gun fire and smoke to protect the advancing jar-heads.


Marines in the jungle.


View of the landing from the Japanese position.


Marines clear a native village


More naval gunfire hits the hillside, the Marines sense there are loads of Japanese bunkers in or around the hill.


Marines take incoming fire from Japanese mortars


USMC Corsair comes in to take out some stubborn defenses


One Japanese tank was hiding in the streets of the town hoping to avoid superior US firepower.


Some good shots of the terrain from above.


Can you see the Japanese bunker on the ridge line? No, neither did the marines until it opened up on them!


marines take out another bunker just to the top left of the smoke


Finally! Some armor arrives!


Shermans advance off the beach


The place would be pretty if we weren't getting shot at!


Japanese heavy gun waiting for the Americans!


USMC squad walks right on top of a bunker and gets chewed up! The bunker is under that big tall plant in the middle


Marines slip around the base of the large hill, always on the lookout for Japanese above and below ground.


Japanese platoon HQ, waiting by one of the bigger roads.


Japanese 2nd Company HQ


Hiding in the narrow streets


Where's the bunker? The picture after this shows you the answer.


Marines find out the hard way with devastating MG fire!


Banzi charge!


Japanese gun incinerates Sherman tank, before it is overwhelmed by American retaliatory fire.


What the Americans can see when the tank explodes!


Some of the more nasty terrain. There is a Japanese squad in there, but very tough to see.


Bunker destoryed


Japanese MG opens up on the USMC from the town. (Japanese could hide units in buildings)


The photo below has a Japanese observer in it and he is fairly easy to see from the backside of the terrain, but not from the US side.


Where is the bunker on this ridge?! Only 2 inches away! Damn!


Bunker now in ruins (big bushy thing is now gone)


Well, that brought back a lot of fun memories!
Eric